This document should guide you through the first steps to get VivoQuant running on your system:
Downloading
Please point your favorite web browser to the VivoQuant Home Page for access to the latest stable release.
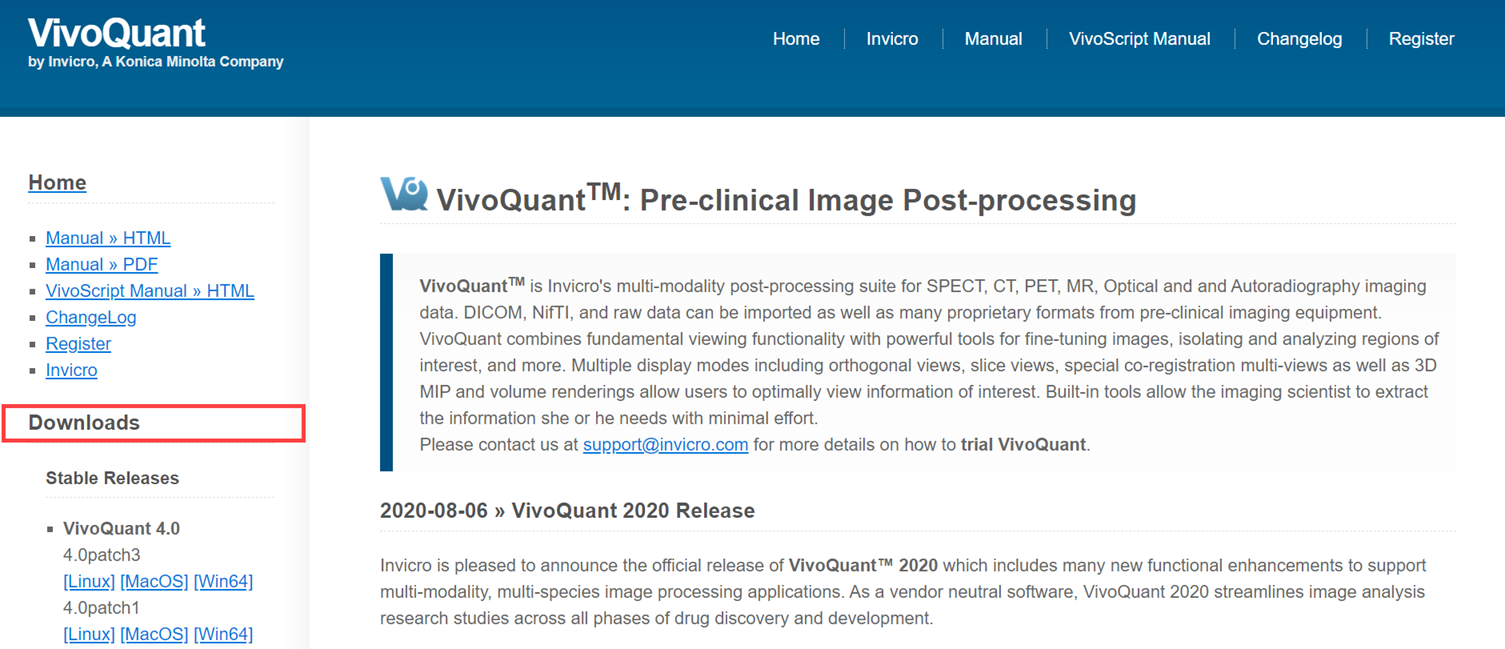
Development releases are also available in the Downloads section:
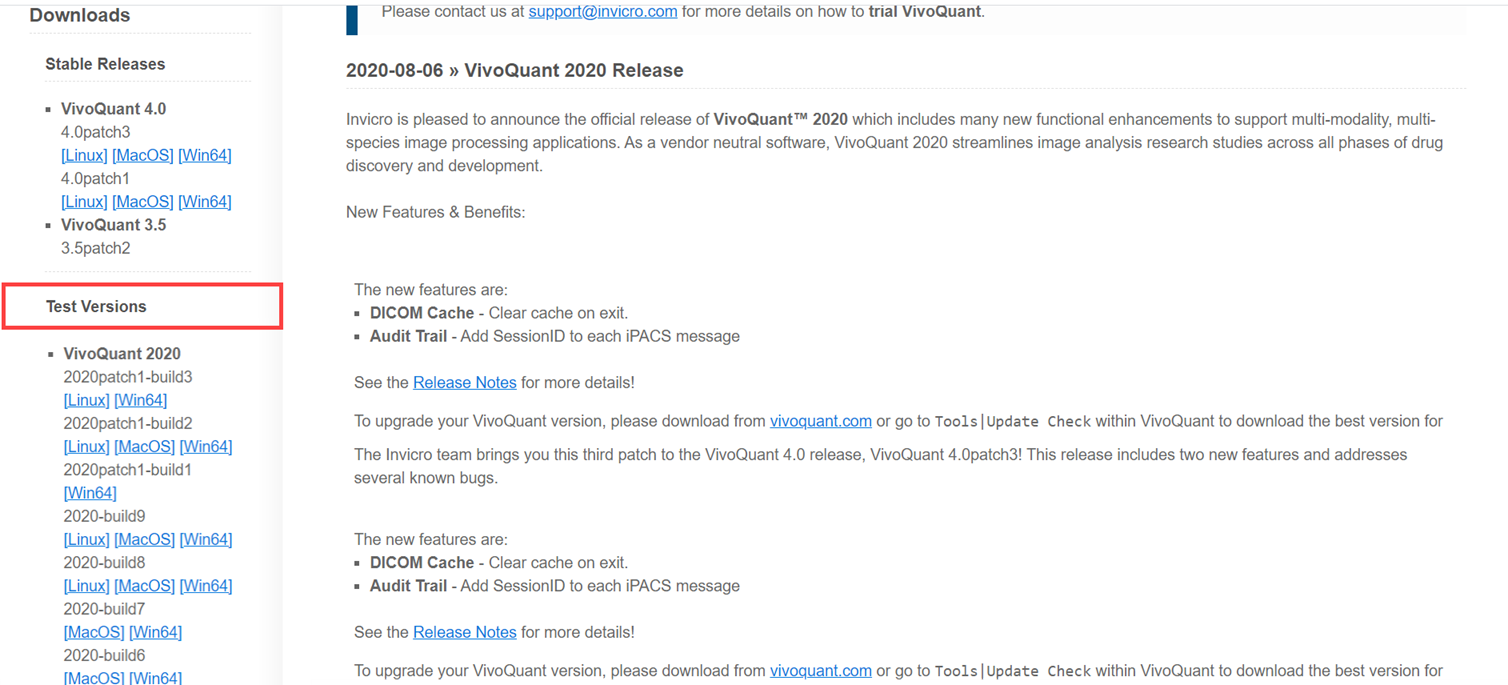
Apart from the stable release, VivoQuant web page may also offer preview and test versions. There are three classes of versions:
| Class | Description |
|---|---|
| stable release | These versions are the officially released and fully tested versions of VivoQuant. They have undergone intensive testing by our software developers, service engineers as well as selected expert users. Unless you require a special feature only available in a newer version, or want to participate in the software testing process, we recommend to only use these stable releases in productive environments. |
| patch release | Subsequent changes to stable versions are released as patched versions. Such releases only contain few and significant bug fixes established after the release of the original stable version and no other updates. Further stable releases will, unless noted otherwise, also contain such patches. |
| release candidates | At the end of the development cycle, multiple release candidates (rc) are released, which allow users to sneak a peek on upcoming versions. These versions have undergone testing by Invicro and are sent to our partnering expert users for evaluation. Depending on the feedback of actual users, release candidates are modified to fix last bugs and finally reissued as a stable release. Consequently, rc versions are often already stable with only minor problems to be fixed, thus allow you to use new features early. However, rc versions are not officially supported. Release candidates have a limited life time of 90 days. |
| beta versions | These test versions are mainly intended for software testers. They have not undergone the testing cycle required for a release candidate. You can use these versions are your own risk. Beta versions have a limited life time of 30 days. |
| alpha versions | These versions are mainly used for testing within inviCRO and associated partners. Alpha versions have a limited life time of 15 days. |
Installing
A. Windows
Double-click the VivoQuant install icon to start the installer.

Follow the sequence of set-up steps carried out by the Installer. Please accept the default settings, or change the options according to your needs. A detailed description of the install options can be found in Installation Details.
B. Mac OS X
- Double-click and unzip the VivoQuant zip archive.
- Locate the VivoQuant installer in the Applications folder.
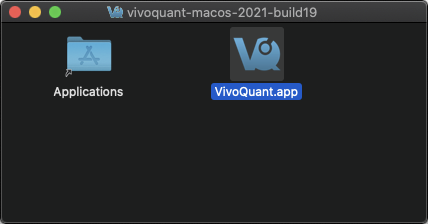
Troubleshooting Mac OS Install
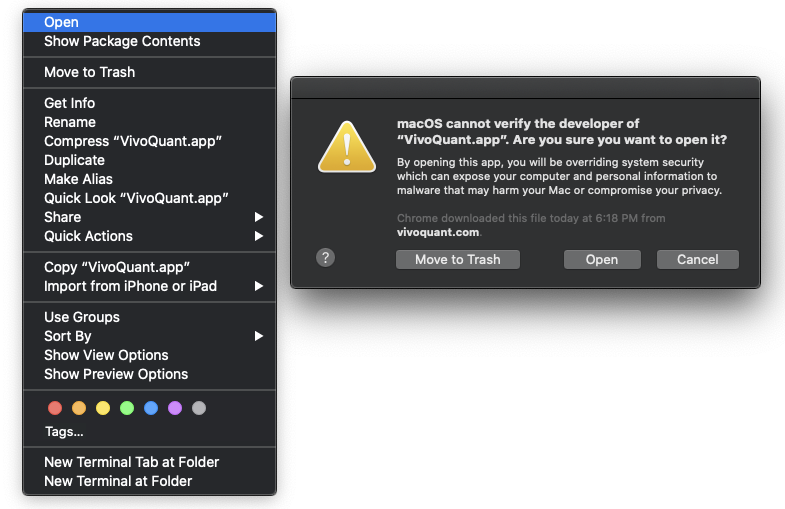
On some occasions, Mac OS will not recognize VivoQuant as a verified application:
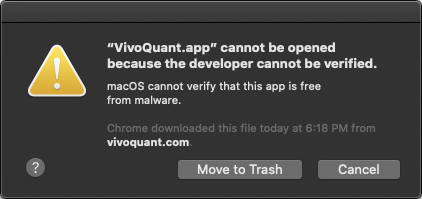
To make the Open option appear, simply the right-click on the warning message and select Open.
C. Linux
Double-click and unzip the VivoQuant zip archive, then move the VivoQuant folder to the desired location. To run VQ, double-click the VivoQuant script contained in this folder.
Licensing
I. Active Accounts
VivoQuant supports two licensing methods: a machine locked file-based license and a floating license. Users should consult their latest purchase agreement for the license to determine which type was purchased.
Floating licenses
The floating license uses an alpha-numeric license key and an internet connection to provide licensed access to VivoQuant. To add a floating license key:
- Start VivoQuant
- Go to Configuration > Licensing > Floating license tab
- Enter the license key in the field provided.
- Click Ok to close the Configuration dialog.
- Restart VivoQuant, and the license will be activated in the next session.
Heartbeat pings
To prevent issues with license activations becoming stuck on a user’s machine, VivoQuant requires a constant internet connection to send pings to the license server in order to confirm that the activated VivoQuant instance is still in a working state. If the process can no longer communicates with the license server, VivoQuant will notify the user to resolve the connection issue before eventually closing.
File-based Licenses
VivoQuant License Manager manages file-based licenses allocated to an account. An on-site license manager login credential will be provided to each account to access the VivoQuant License Manager. For detailed information on how to manage your account’s VivoQuant licenses click Here.
Installing a file-based license
If the end-user’s computer has internet access, VivoQuant will automatically detect and install a pre-approved license file. If the end-user’s computer does not have internet access, they will need to download the license provided in the link and install manually. To install a license file manually, go to Help > Licensing within VivoQuant and click on Install key. VivoQuant is now registered and fully operational.
II. Trial Accounts
Methods for Obtaining a Trial License
If you are a current end-user and have an active software account, contact your account representative for a trial license of a plugin module. Your account representative will pre-approve the trial license and you should follow section II.b. below. If you do not have an active account, please follow the below steps.
a. Requesting a Trial License
- Download the latest stable version of VivoQuant. Once you have successfully installed VivoQuant, you will be prompted to register your computer. Click Yes.

-
Make sure the company code is
DEMO. Enter a value to identify your department (or company) in the Department field. The license file will be sent to the email address specified in Contact address. -
After clicking Register, your internet browser will load and navigate to the license registration confirmation page.

b. Pre-approved Licenses
- An account manager can issue a license to an end-user. Upon issuing a license, an email notification will be sent with instructions for downloading the VivoQuant software and installing the license key. After the software has been successfully installed, you will be prompted to register your computer for a license. Click Yes.
- Enter the company code provided in the email along with the email address to which the registration email was sent.
- After clicking Register, your Internet Browser will load and navigate to the license registration confirmation page. You will need to enter the password provided in your email to finalize the process.
- After you click Submit, the system will validate the request. If successful, the below page will appear.

If you experience any problems, please contact support@invicro.com.