How to create a Custom Brain Atlas
A custom brain atlas can allow the user to perform other registrations based on your own ROIs, and on images of other animal species. This can be done with the provided wizard in VivoQuant.
The following files comprise an atlas:
| Item | Format | Description |
| Reference image | .raw | The reference image data on which your ROI atlas has been segmented |
| Reference Image Header | .mhd | The header corresponding to the raw reference image |
| ROI Atlas | .rmha | The segmented regions of your reference image in which you’d like to use as an atlas |
| ROI Key | .csv | A CSV file of the region names in the order that they appear in the rmha file |
Creating a custom atlas with the wizard
-
Open your data then go to the 3D ROI operator. Load in the ROI(s) (stored either locally or on iPACS):
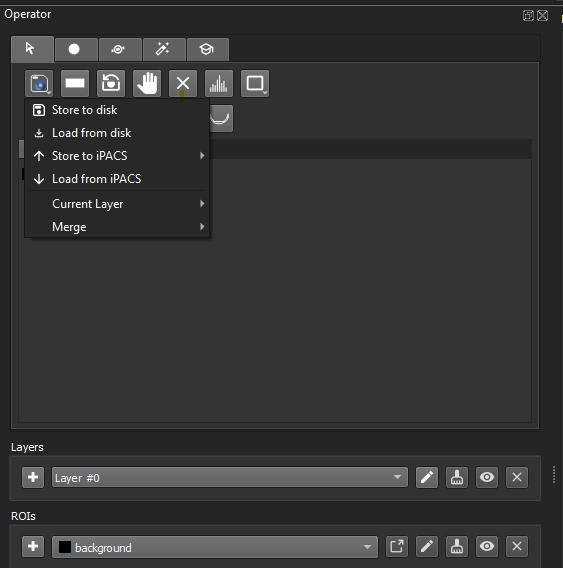
Load ROI -
The ROI(s) should be available in the ROI selector and should also appear on the ROI table:
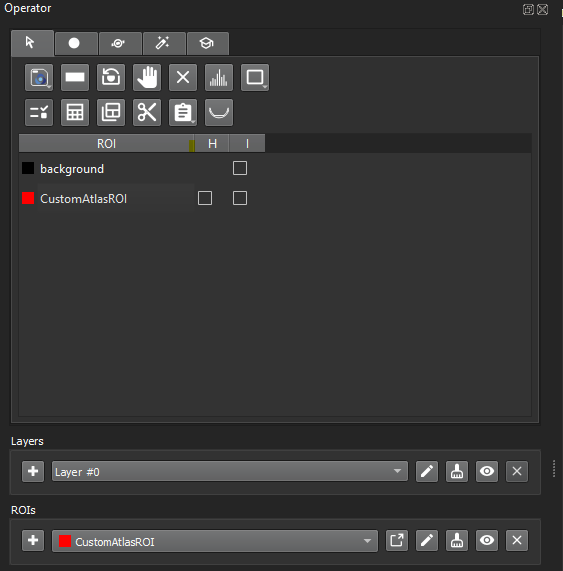
Loaded ROI -
Navigate to Advanced Modules > 3D Brain Atlas tool, then select the
+button: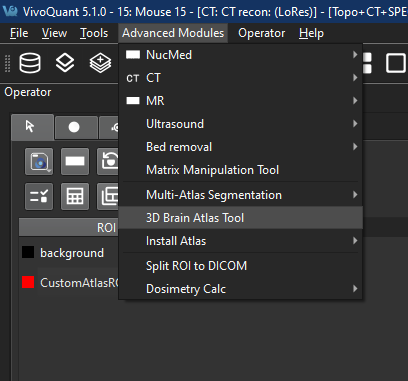
Brain Atlas Tool menu 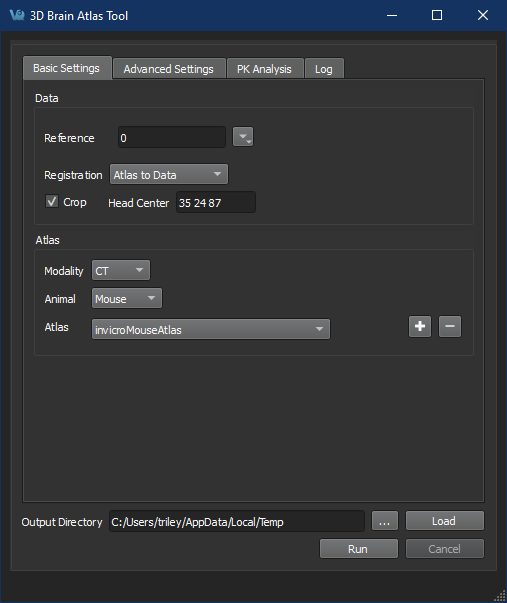
Add new atlas -
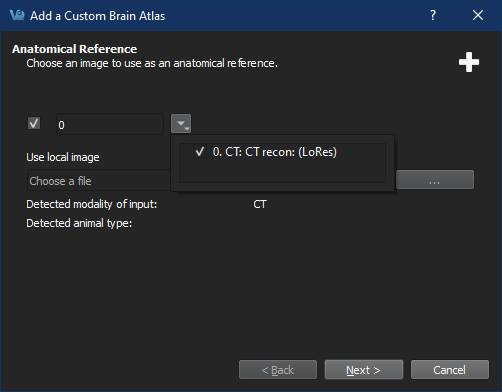
Follow the steps prompted by the Brain Atlas Tool Wizard to select reference images and ROIs.
Selected loaded ROIs 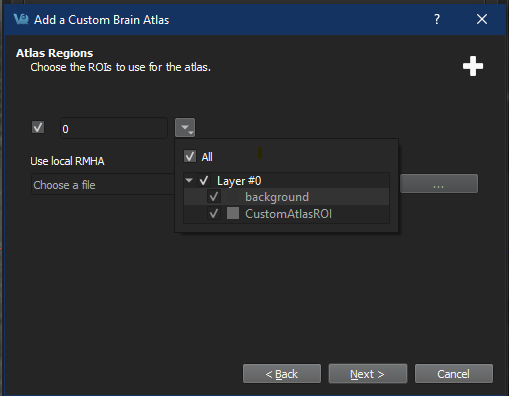
Selected loaded ROIs 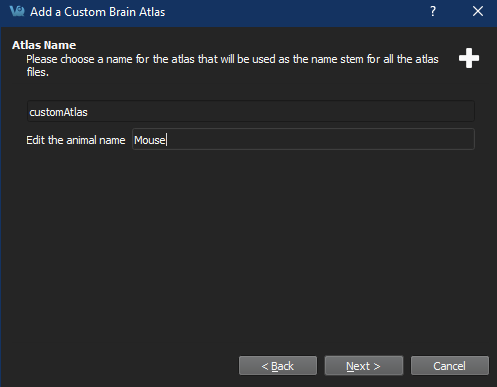
Set atlas name Important: When choosing the animal name, ensure that there is a corresponding entry in the specieslist.txt file, or the atlas will not appear 3D Brain Atlas Tool dialog.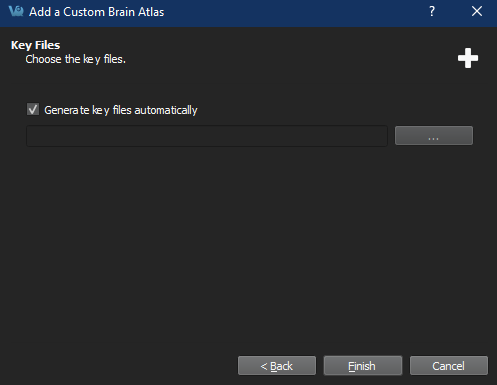
Add key files Important: If selecting manually generated keyfiles, at least two must be selected in the file dialog (one left and one right) with CTRL+select (as appropriate for your platform). The filenames must match the eitheratlasName-Left.csvoratlasName-Right.csv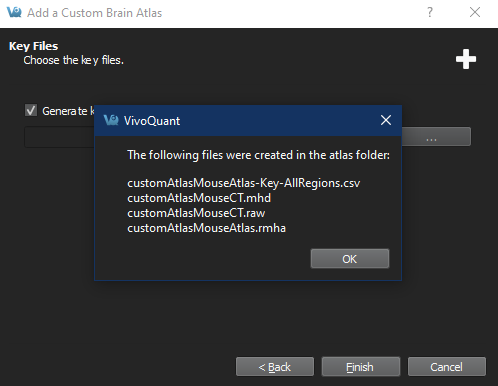
Saved documents 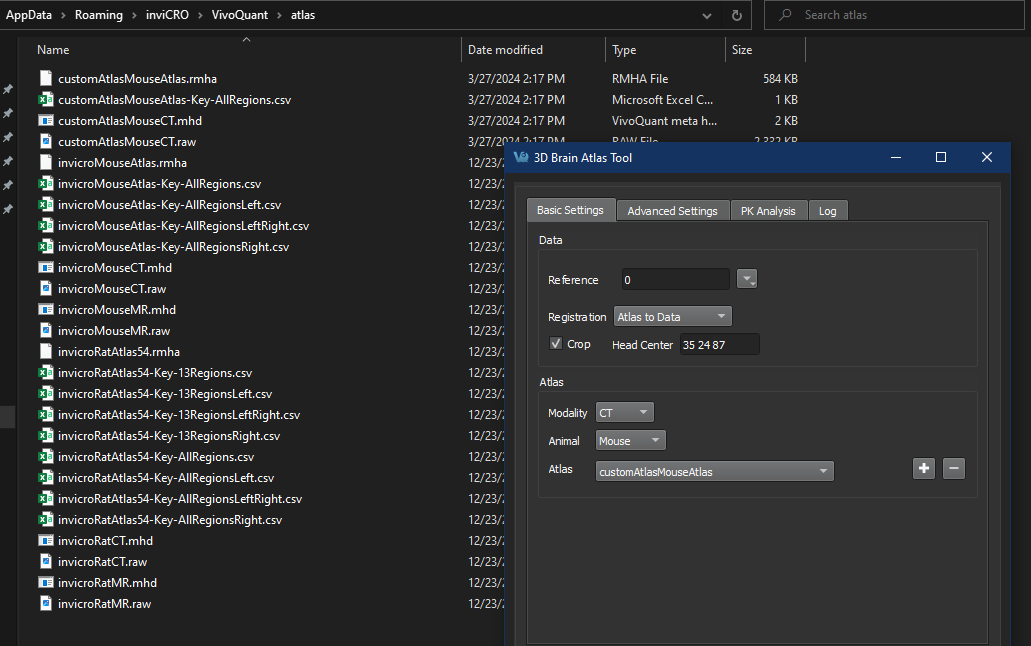
Saved output


The custom atlas should be ready to use.
The specieslist.txt file
If you should need to create an atlas for another species, you can do so by editing the specieslist.txt file that’s located next to the VivoQuant
application. Typically, this file can be found at the following locations:
Windows: C:\Program Files\inviCRO\VivoQuant\specieslist.txt
macOS: /Applications/VivoQuant/Contents/MacOS/specieslist.txt

PlanarMouse and VolumetricMouse species name could be created.Key file format
Content
The key file is a comma separated text file without a header row. Empty lines, or lines starting with # or $ are ignored.
The line format is:
input index of the ROI in the .rmha file,output ROI index in the resulting segmentation,ROI name
For example, the keyfile below corresponds to an .rmha ROI file which has 28 disjointed ROIs, which will map to 14 regions in the resulting
output segmentation:

Filename
The wizard will generate a key file with the following name format:
atlasName-Key-nRegionsRegionsdirection.csv
The atlasName is entered by the user in the wizard process.
The nRegions value will be either All if all ROIs in the current layer were selected to be used, or the number of ROIs.
The direction value could be one of Left, Right or LeftRight if the user has ROIs with the text left or right (case insensitive) in the ROI names.
It will be empty if none of the selected ROIs were named this way.
This pattern could be used to create segmentations for left cerebellum and right cerebellum separately, or cerebellum combined.